
Bed Surfaces: Applying Kapton Tape
Certain filaments call for certain bed surfaces. Kapton Tape is a key choice for ABS, but it can get tricky when it comes to application. Learn how to apply this sticky tape flawlessly with our helpful tutorial.
Kapton tape is the recommended bed surface for 3D printing ABS filament. The tape protects the bed surface and acts a base layer, while the hair spray or juice provides the adhesion.
Kapton tape (a registered trademark of DuPont) is a polyimide film. Created for the aerospace industry in the 1960s, Kapton tape as a flexible adhesive tape that is stable over a wide range of temperature, from -269C to +400C. The film was used for many awesome projects like the Apollo Lunar Module.
The tape was then discovered and utilized widely in the Electronics manufacturing industry for its electrical isolation properties in addition to the thermal stability. 3D printing, in particular the RepRap Community, discovered a new use for the robust material as a bed surface.

Kapton tape comes in large rolls which allow you to cover the entire bed with a single sheet. Unfortunately, applying the tape is tricky since it is easy to trap air bubbles underneath or make creases. In this guide we will show you an easy way to apply Kapton without trouble.
Step 1- Create Soapy Water Mixture
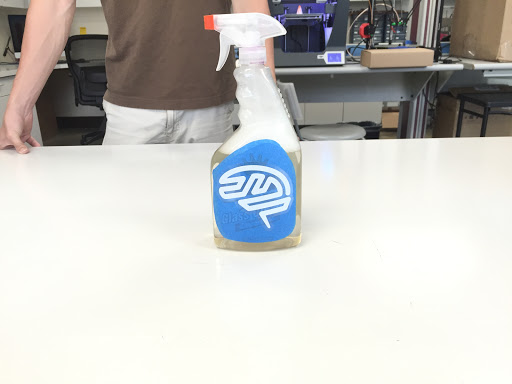
- First, you will need an empty spray bottle and some dish soap.
- Fill the spray bottle with water, then add a few squirts of dish soap. The exact mixture is not important.
- Shake vigorously.
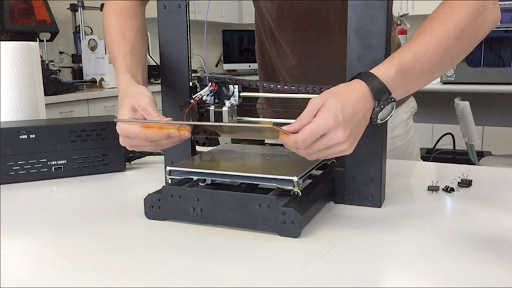
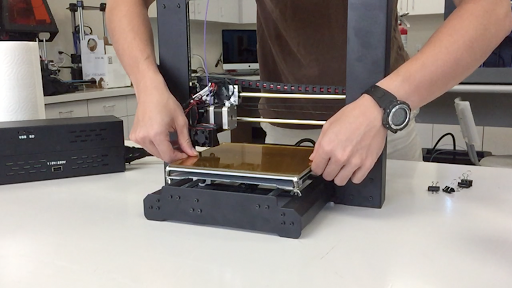
Step 2- Remove Glass Bed
- Remove the glass build plate from your printer.
- If necessary, scrape off any residual plastic and clean the surface using Windex.
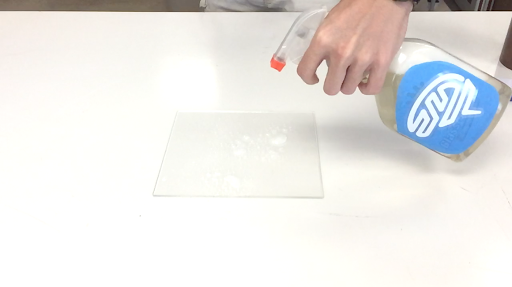
Step 3- Spray Bed With Soapy Water
-
Things are going to get messy at this point. Either lay down some towels or do this some place where you don't mind getting water everywhere.
-
Spray the entire surface of your glass plate with the soapy water. Do not be afraid to use too much.
-
Spread the soap around and make sure that the entire plate is covered. If you miss a spot, the tape will get stuck there and you will have a problem.
Step 4- Lay Down Tape
- Pull enough tape off the roll to cover the entire bed, plus plenty of extra.
- Be careful not to let the tape get stuck to itself. You may need someone to help you at this point to hold the sheet as you cut it from the roll.
- Lay the tape down on the glass. The soap will prevent it from sticking and allow you to slide it around to get it in the right position.
- When you have the tape aligned correctly, stick the overhanging edges to the workbench below. This will hold the tape in place during the following steps.

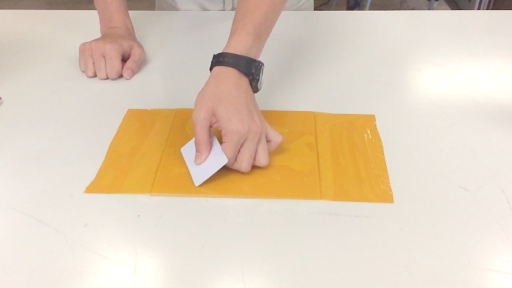
Step 5- Squeegee Water Out
- Use a credit card or some other object with a hard edge to start pushing the soapy water out from under the tape.
- Begin at the center of the bed and work outwards.
- You will probably want to use a paper towel to soak up the water around the edges.
- Do your best to get out as much of the water as you can, especially around the edges. If you don't, they will be likely to peel up.
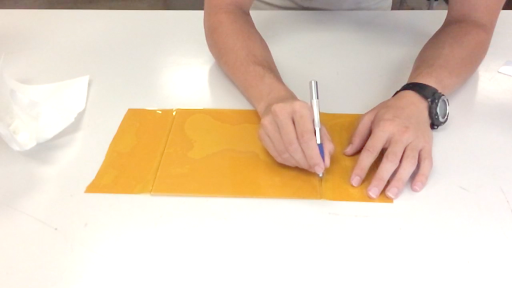
Step 6- Cut Tape to Size
- At this point you can cut off the excess tape with an art knife or sharp blade and then throw it away. The sheet will be stuck to the glass.
Step 7- Bake Moisture Out
- Now you have a perfectly applied sheet of Kapton with no bubbles underneath, however it is not ready for use yet.
- When the bed is heated, any residual moisture under the tape will boil, creating bubbles of water vapor. To prevent this, we need to thoroughly dry your build plate before use.
- Install it back on the printer, and turn on the bed heater to low heat (60-70 °C).
- Let the build plate bake for an hour.
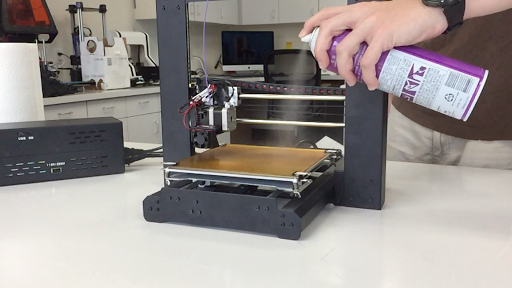
Step 8- Apply Hair Spray or ABS Juice
- You are now almost ready for printing.
- Apply your favorite bed adhesion solution. Hair spray works well and is convenient, but for the toughest prints you will want to use ABS juice.
Step 9- Print
- Heat your bed to at least 90 °C. If your printer is capable of getting up to 100 or 110 °C, then do so.
- Enjoy printing with ABS.
- If you are still having problems with peeling or layer separation, consider building an enclosure for your printer.

And that's it! It is really that easy. Now, get that Kapton tape on your printer and enjoy!
Happy Printing!