
How To Calibrate Your 3D Printer's Extruder
This quick and informative guide will help you calibrate your extruder perfectly, resulting in accurate, quality prints.

Your 3D printer extrudes and retracts precise amounts of filaments in order to create your printed masterpieces. Well, it does if it’s properly calibrated. Calibrating your extruder is one of the most important, as well as one of the most overlooked, things you can do to your machine.
If you’ve been unhappy with your printing results or have noticed either under or over-extrusion, this calibration will help resolve some or all of these issues.
Before we begin, let’s identify the components on your printer that we’ll be covering, as well as the 2 different types of extruder setups.
Direct vs. Bowden Extruder
Direct extruders are mounted directly onto the hotend. They are the most common type of extruder on Cartesian-style printers.
This is a picture of the Lulzbot Taz Mini Wade’s style direct extruder and hot end assembly.

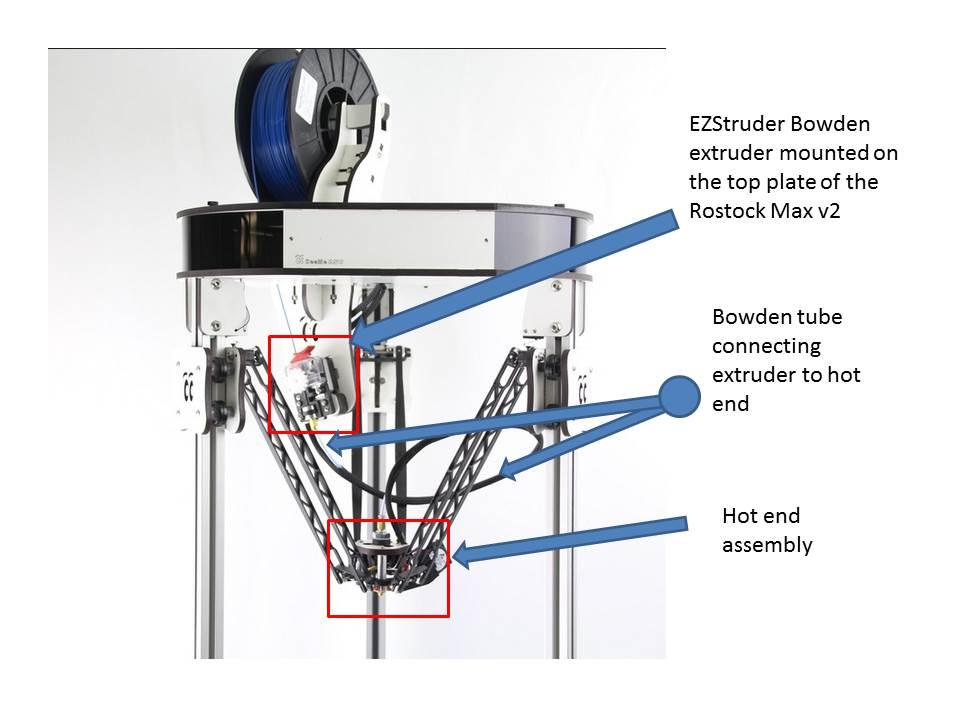
Bowden extruders are not mounted directly on the extruder. Instead, they are typically mounted on the body of the printer in a stationary position. They are connected to the hot end with a PTFE, or other similar low-friction tubing. Bowden extruders are most commonly found on delta style printers like the Rostock Max v2 by SeeMeCNC and the KosselPro by OpenBeam.
This is a picture of the SeeMeCNC Rostock Max v2 which uses a Bowden extruder:
Direct and Bowden extruders are very different, but calibration is similar for both.
Bowden Extruder Calibration:
-
Connect your printer to MatterControl. Ensure hot end and heated bed (if applicable) are turned off and cool to the touch.
-
Remove Bowden tube from the hot end side. Leave it attached on extruder side.
-
Feed filament (any filament except flexible filaments like Ninjaflex) through your extruder until it just starts to come out of the Bowden tube.
-
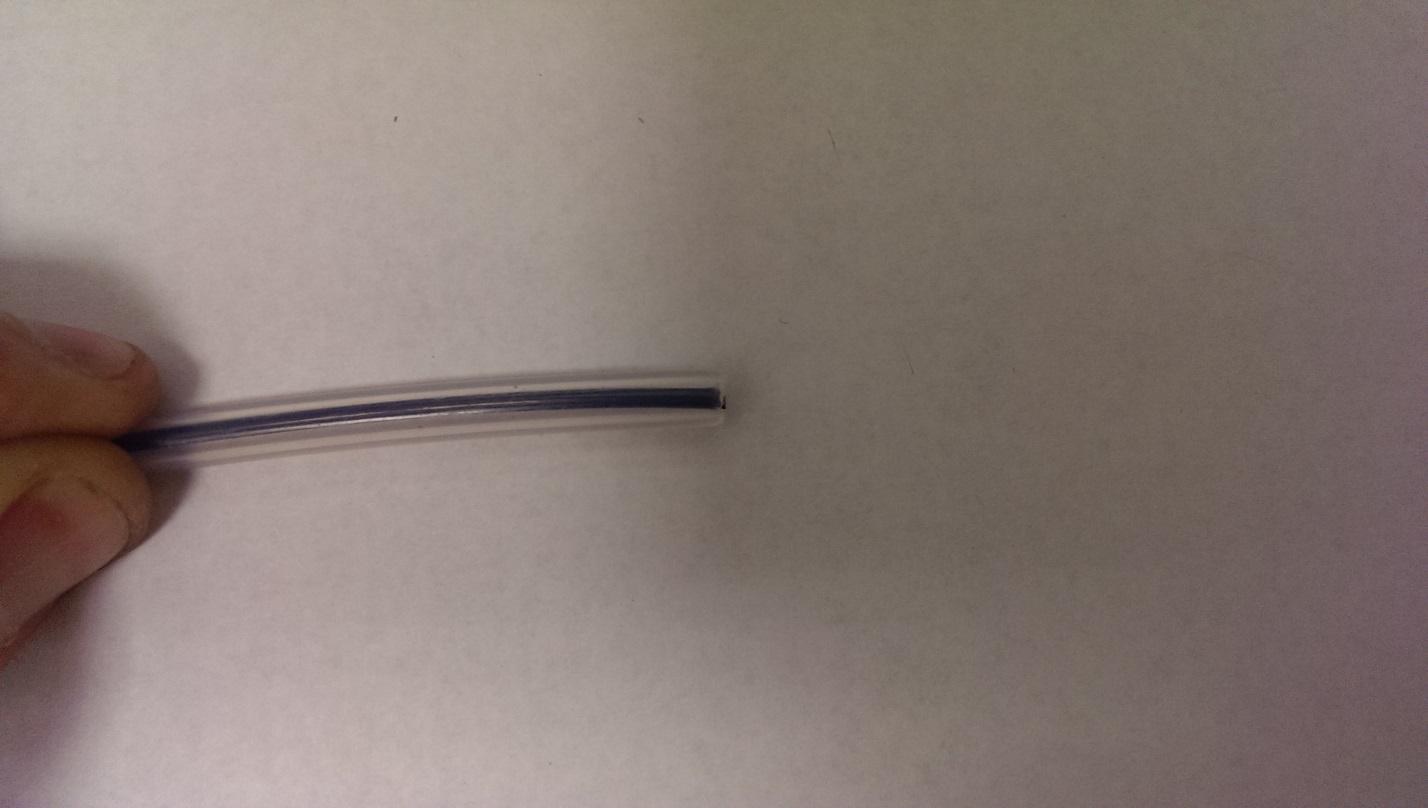
Using a razor blade or sharp scissors, cut the filament flush/square with the Bowden tube. You want a nice, flat cut so that it’s more easily measurable in the next steps. Make sure filament is flush with the opening of Bowden tube.
Correct:
Incorrect: -
In MatterControl, go to Advanced Controls and click on the Controls tab. Select “100mm” under the Extrude/Retract buttons, and Extrude 100mm.*
* Please note that some firmware will not extrude if the nozzle temperature is too cold. If the filament does not feed when clicking the Extrude button, heat the nozzle to at least 200C and try again. -
When the filament is done extruding, measure from the end of the filament to the end of the Bowden tube. Write your measured amount down. For best results, repeat this process 3-4 times – align filament with edge of Bowden tube, extrude 100mm, measure – and take the average.
-
If the measured amount is MORE than 100mm, then you are overextruding.
If the measured amount is LESS than 100mm, then you are underextruding. -
Now we need to locate the current value your printer is using to calculate extrusion distance – Extruder Steps per MM. If you have a dual extrusion machine, this can be named Extruder 0, Extruder 1, or Extruder 2, depending on your printer.
-
Open MatterControl. Advanced Controls > Configuration > EEProm Settings Configure
Every printer/firmware combination will look a little different in this window. We are looking for the “Extruder Steps/MM” box. It can be shortened to “Extr0” or “Extr1”, but it should be easy enough to locate.
For this example, I’m using a Rostock Max by SeeMeCNC and the field is “Extr1 Steps/MM”. The current value is 93 steps/mm. -
We need to do some basic math to calculate the proper steps/mm for your machine
The formula is simple: - New Steps/mm = (Old/Current steps/mm) x [100 / (measured distance filament traveled)]
- I measured 101.3mm on this Rostock max. My current steps/mm is 93.So, 93 x (100 / 101.3) = 91.80
-
Now we just need to enter our new value into our EEProm settings and we’re done.
In MatterControl go to Advanced Controls > Configuration > EEProm Settings Configure
Enter the new value in the proper box, click Save in the bottom left corner. -
The last step is simply confirming our new value. Set the filament back flush with the Bowden tube and extrude 100mm. Measure, and you should be right at 100mm. If not, you can repeat the same process, paying special attention to getting as accurate a measurement as possible.


Direct Extruder Calibration
For Direct extruders, the process is a little different since you must extrude the filament through the hot end.
-
Bring your hot end up to temperature for the filament you will be using.
-
Feed filament into your extruder/hot end.
-
Using some stationary point on your extruder, measure 110mm on your filament and mark it with a felt tip pen.
-
In MatterControl, extrude 100mm of filament.
-
Measure where the mark on the filament is in relation to where you measured from.
If the mark is 10mm away, then your extruder is properly calibrated. Chances are it will be more or less than 10mm away. -
If the mark is 6mm away, then 104mm was extruded and your machine is overextruding.
If the mark is 14mm away, then 96mm was extruded and your machine is underextruding. -
Follow Steps 8-10 from the Bowden extruder guide to complete the calibration.
There’s no substitute for having a perfectly calibrated extruder. If you follow our simple guide, you can ensure your printer is putting out the correct amount of filament every time.
-
Note: Most printers have EEProm enabled in the firmware. If your machine does not, you will need to change your firmware. If you are unsure how to do this, see our article on How To Successfully Flash Your 3D Printer's Firmware.