
Tools of the Trade for Every 3D Print Master
Check out these essential 3D printer accessories and tools that will help you achieve higher quality prints.

The possibilities unleashed through 3D printing is vast and constantly evolving. New printers are introduced every year at various prices for various purposes, making it accessible for creative makers across all skill levels, industries and economic classes. A few hundred dollars instead of a few thousand can now get you a functioning 3D printer that serves as a reliable entry into this expanding world.
But while more people can access a 3D printer nowadays, it is still a tricky machine to master. We know that 3D printing isn't always easy. From attempting a successful first layer to spending hours sprucing up a finished print, the road to producing parts, while completely manageable, can sometimes also be a bumpy one. However, it doesn't have to be.
After gathering feedback from our technicians, staff, and customers, we compiled a list of essential 3D printer accessories and tools that every maker will find consistently useful in their every day 3D printed projects. If you have ever wondered what you can do to further streamline your workflow, you've come to the right article for the answer. Continue below to see what tools and tips will save you time and effort producing great, consistent prints from your machine.

Get all the essential tools you'll need for a smooth 3D printing experience and more with MatterHackers 3D Printing Tool Kit Premium!
Print Bed Adhesion
Print Bed Adhesion is key. Pairing the material you are printing with the appropriate bed adhesion is often the main solution to a successful print. Without good bed adhesion, a print (especially one with a long print time) is doomed. Here are some of the most common materials used for print bed adhesion.
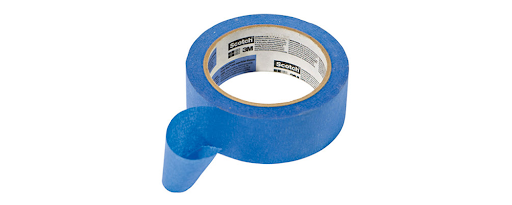
Blue Tape
Blue Painters tape, or blue painters masking tape, is probably the most commonly used method for achieving great bed adhesion when printing with PLA filament. The reason printed parts like to stick to the tape is because of the tape’s outer coating - melted PLA sticks to that thin coating very well. You might notice the adhesion of PLA decreases after a few uses - apply some new tape when you see that occur. There are a variety of widths available - the wider you go, the fewer strips you will need to cover your bed.
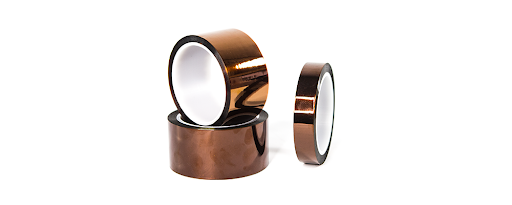
Kapton Tape (Polyimide)
Due to its temperature tolerance, Kapton Tape is used in 3D printing as a printing surface (applied to a heated build platform), as well as insulating hot-ends. When heated, Polyimide film adheres particularly well to ABS plastic and can be used to prevent or reduce warping.
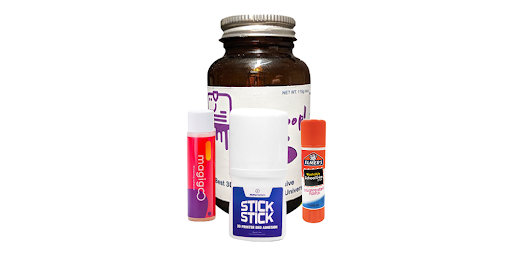
Print Bed Adhesives
Getting your first layer to stick to the bed surface is undeniably crucial to producing a successful print. To achieve this, there are a number of tools available based on your personal preferences. Whether it's an Elmer's glue stick you can buy at the store or a jar of 3D Gloop specifically designed to help you succeed in 3D printing, you can find a variety of print bed adhesion options that have been tested with successful results.
Bed Removal Methods
Sometimes removing a finished printed part from the bed can be tough. If hands aren't enough to remove stubborn prints, here are some tools to successfully remove the part from the bed. *Always be careful with this part - keep your hands and body parts out of the way of any potentially harmful tools. BE SAFE.*
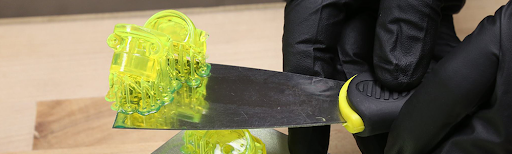
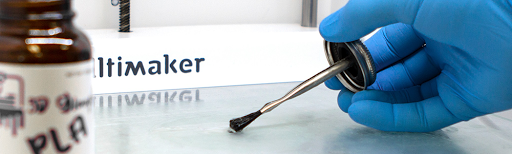
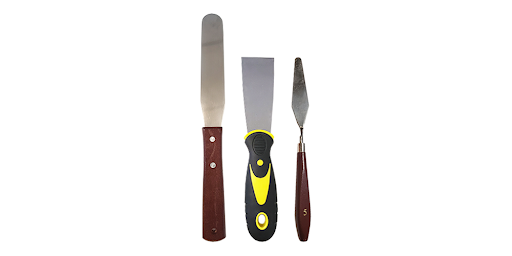
Spatulas / Scrapers / Putty Knives
Paint scrapers, putty knives, and art spatulas are the usual go-to bed removal tools when you need to remove a print that's difficult to detach. When using one of these items, use the blunt end to reach under the part. Once you get a little lift off of the surface, try to remove the print by hand. If it still won't come off, carefully and slowly wedge the removal tool further under the print until you are able to remove the part by hand. Take precaution to scrape with the sharp edge away from you and to avoid accidentally scratching the bed surface.
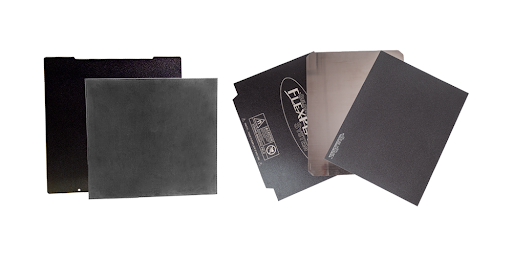
Attachable Magnetic Base Systems
Tool isn't the first word that comes to mind when hearing the word "magnetic base." However, when it comes to 3D printing, magnetic base systems are certainly a useful aid in the print removal process. If using the bed removal tools listed above is a safety concern for you or a struggle, attaching a magnetic base with a detachable build plate is a wonderful alternative that requires minimal installation. Simply stick the back of the magnetic base like LayerLock MagBase or BuildTak FlexPlate onto to the print bed, attach a compatible build plate like LayerLock Powder Coated PEI Build Plates onto the base, calibrate your nozzle height and you're ready to go! After you finish printing, detach and repeatedly give small bends to the plate until the part pops off. Simple as that.
Filament Management
For a smooth 3D printing process, you'll want to cut filament for a fresh start, get rid of tangles, and remove melted filament from the nozzle. Here are some tools that can help manage your filament.
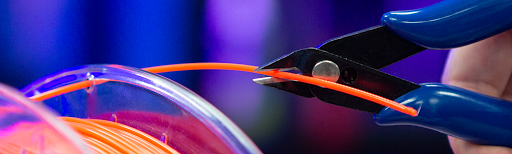
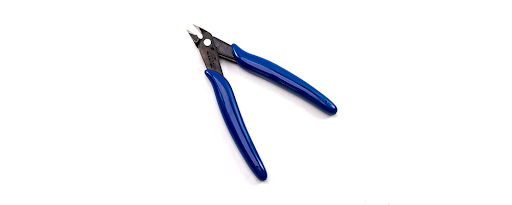
Flush Cutters
A small pair of flush cutters can be used to easily cut spooled filament when you need to trim a sharp tip to insert into your printer's extruder, cut off an unusable portion of the filament and remove excess strings and blobs on your final print.
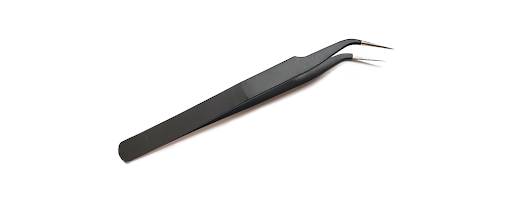
Forceps
Also known as finger savers (let's be real - they call it a hotend for a reason), forceps will help remove clogged filament from the tip of the nozzle. It is best to get in the habit of using forceps - your fingers will thank you. In addition to filament management, forceps also work well for post processing when you need to remove debris from smaller spaces as well as 3D printer maintenance described in the next tool down below.
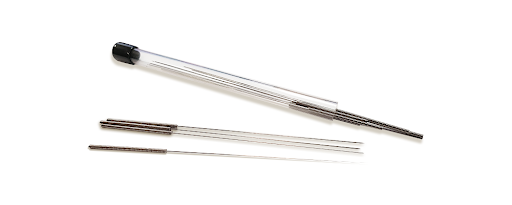
Nozzle Needle Cleaners
When small blockage/clogging occurs in your hotend, these nozzle needle cleaners are the perfect tools for resolving this issue. Clogged nozzles aren't completely uncommon as they can occur from something as simple as not cleaning out the nozzle when switching between materials. These needle cleaners address this by breaking up the blockage into smaller particles so they are more likely to extrude the next time you attempt to extrude filament. Forceps are great to have on hand in tandem with this tool so you can safely remove filament close to the nozzle and assist with the cleaning process. If blockage in the nozzle isn't immediately averted or addressed, it can lead to longer downtime on your printer in an attempt to resolve other issues that may result from a clogged nozzle. Having these needles on hand (along with forceps) to prevent the problem before it fully takes effect will save you time and effort.
You can find nozzle needle cleaners, as well as forceps, in our MatterHackers Tool Kit Premium.
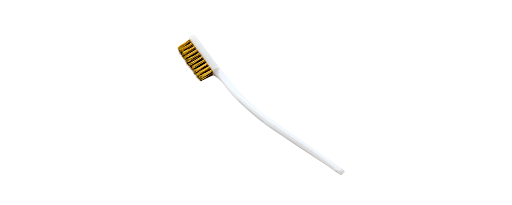
Brass Wire Brush
Brushes are a wonderful alternative to forceps for cleaning nozzle tips (though it certainly never hurts to have both on hand). If your nozzle tends to be covered in excess extruded filament, brushes are great for safely cleaning the entire nozzle tip with a few quick strokes. We recommend using brass brushes as brass is universally safe for all nozzle types. If you use steel brushes, please note that they would only be compatible with hardened steel nozzles. Using it on any other nozzle type such as brass would scratch it up.
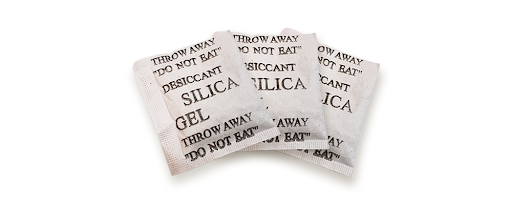
Desiccant
Do not underestimate the ability for a spool of filament to ‘go bad’ over time. The plastics that are used for 3D Printing absorb moisture from the air. It is best to keep them dry when storing them for long periods of time. Keeping filament in a box or airtight bag with desiccant ensures that the filament will not continue absorbing moisture. Filaments like Nylon, TPU and PVA are especially prone to water absorption because they are very hygroscopic. The next time you come across desiccant in everyday packaging, save it for filament storage use!
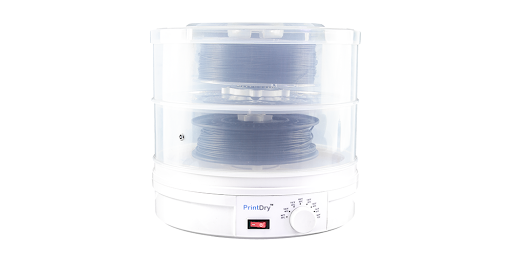
Filament Drying System
While desiccant helps keep filament dry, it is not meant to remove moisture that has already been absorbed. To further prevent "wet" filament, we recommend owning a filament drying system like PrintDry. Most kitchen ovens can dry filament although is not recommended. PrintDry was engineered specifically to manage moisture-free filament so you can easily and safely succeed with materials like NylonX, NylonG, ABS and more. Keep your food and filaments separate with this convenient, compact machine that you can place right next to your 3D printer and feed the dry/drying filament directly into the extruder. Properly dry and store your materials when you use desiccant and PrintDry in tandem.
Click filament moisture to learn more about the importance of beating moisture in your filament.
Tools for Post Processing 3D Printed Parts
Some printed parts require support removal after printing. Some need no post processing to remove layer lines. Some need A LOT of post processing to remove layer lines and other blemishes. Here are some basic tools that will help you achieve professional quality prints.
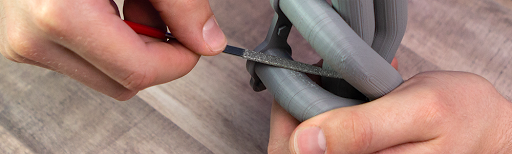
Needle File
Needle files are a saving grace when it comes to post processing projects that need a little more TLC. When you need edges to be a little cleaner and sharper, files are wonderful to have on hand to get a more precise job done.

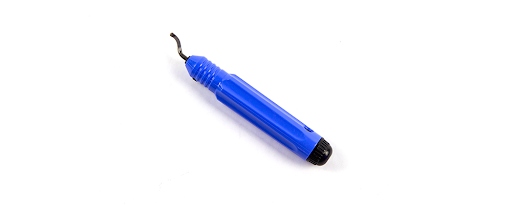
Deburr tool
A Deburr tool works very well for removing the support material from the edges of prints. We have found it to be one of the most useful tools to use for part cleanup. Much easier and safer than a knife. We especially find this helpful when cleaning up edges of round holes.
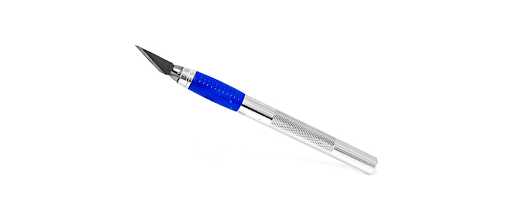
Hobby Knife
The MatterHackers Heavy-Duty Art Knife is perfect for precision cutting and trimming of 3D printed projects made of PLA, ABS, and most specialty materials. Keep it sharp but always use with caution.
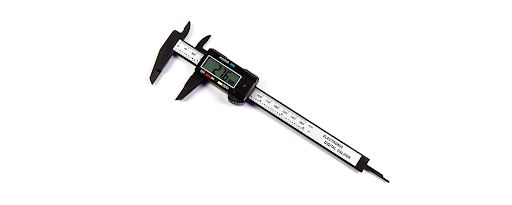
Digital Calipers
Digital calipers can be used to measure printed parts to check for accuracy. More common calipers are used for part design, especially if there is a bit of reverse engineering going on.
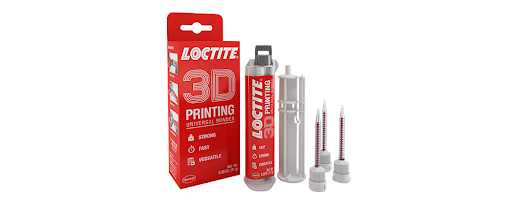
Super Glue
Really, the possibilities of Super Glue are endless. Super Glue can be used to repair parts, fill gaps, or combine assemblies or fixtures. Remember: viscosity matters - use the correct tool for the job. For gap filling use a thicker glue than when assembling delicate parts. Super glue works extremely well with PLA and ABS.
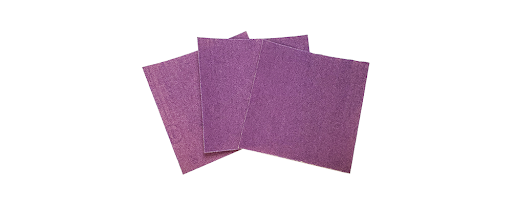
Sandpaper
Sanding can create a smoother surface to your finished prints. Sanding is especially good if you are planning to paint the object. Some 120 or 200 grit sand paper should do the trick for nearly every print. If you are fan of ABS, try sanding a print - it works really well with this material.
Tools for 3D Printer Maintenance
As with any machine, your 3D printer will need an occasional health check. When that time comes, you'll want to make sure you have some commons tools on hand for the job.

Hex Key Wrench Set
3D printers are work horses - if you are constantly running your machine, bolts can sometimes come loose. Having a Hex Key Wrench Set on hand will provide quick fixes for your printer. Upgrades are a huge part of 3D printing as well, and a wrench set can make any installation or add on process much easier. Most machines are Metric, but we recommend having a set of both metric and standard on hand

Screwdriver
Along with allen screws, phillips screws are also commonly found on 3D printers. We recommend having a screwdriver on hand in case maintenance or upgrades require those types of screws to be removed.
Pictured below is a 4-in-1 screwdriver that not only has a phillips head, but also 3 interchangeable hex head sizes that are commonly found on most 3D printers. You can find this nifty tool in the Essentials version of our tool kit as well as the Premium version.

This list of tools is what we here at MatterHackers find ourselves using on a regular basis in the print lab. We hope that you gained some insightful information from this guide. Our technicians and staff use these tools so often that we've created a MatterHackers 3D Printing Tool Kit Essentials and MatterHackers 3D Printing Tool Kit Premium to help cover makers who want just the essential tools or essentials plus more, all in one convenient, travel-size tool bag.
If you use a tool that we missed on this list, feel free to add it in the comments to share with the community. Anything that will make the process faster and easier is something we want to hear about.
Happy Printing!
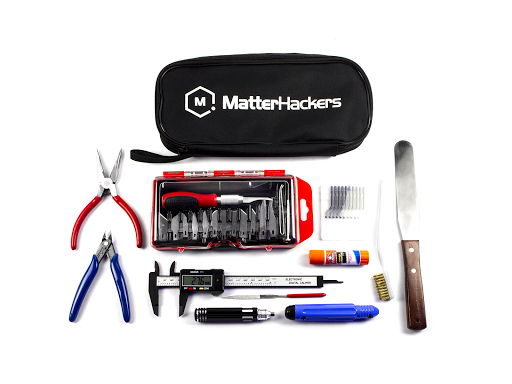
Find common, essential tools you will need throughout your 3D printing experience and more in our MatterHackers 3D Printing Tool Kit Premium!