
How To Create And 3D Print A Custom Stencil
This is a quick tutorial for how to create a custom 3D printed stencil using MatterControl.
Working on a project that might require a customized stencil? Not a problem! With the power of MatterControl, users can imagine, design, and print exactly what they need. Here is how...
MatterHackers 3D Printed Stencil
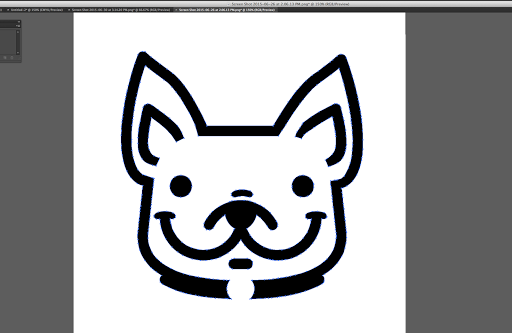
Creating custom stencils with your 3D printer is now as simple as creating a 2D picture in paint (or another design program if you want to get fancy). Simply create your stencil design (like the one below) then upload that file to the image converter. From there you can adjust the scale and size of your stencil as well as the thickness. Alternatively, you can use the built in search function within the Image Converter to search for images online which you can then instantly use as a stencil or 3D printed object.
What you’ll need:
- First and foremost - an idea for a stencil
- Hardware: any 3D Printer
- Software: MatterControl (Free from www.MatterControl.com)
Create your stencil image:
There are a few options at your disposal.
- Draw your design on paper using black marker, take a picture
- Create a design in Paint or another illustration program
- Download any silhouette image or logo from online
Create Your Image
Using MatterControl ‘Image Converter’ to create stencil:
- Open MatterControl (download MatterControl if you do not already have it installed).
- At the bottom of the QUEUE tab click the ‘Create’ button. This will bring up a few of the MatterControl Design Tools.
- To make your stencil select ‘Image Converter’.
- Select ‘Add Image’ and find your stencil design image file.
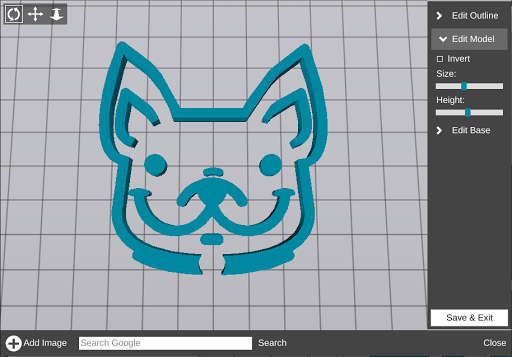
- By default the image converter renders the positive image. On the right panel you will see an ‘Invert’ line, check that box to create the stencil.
- Scale the size and height of the stencil. You do not need a very tall part for stencil, but it is recommended to have at minimum of 4 layers (Roughly 1.2 mm).
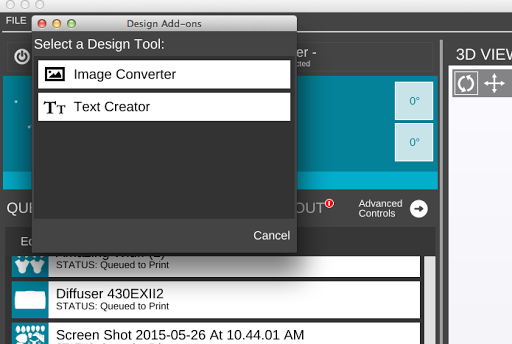
Click On Image Converter
Default Positive Image
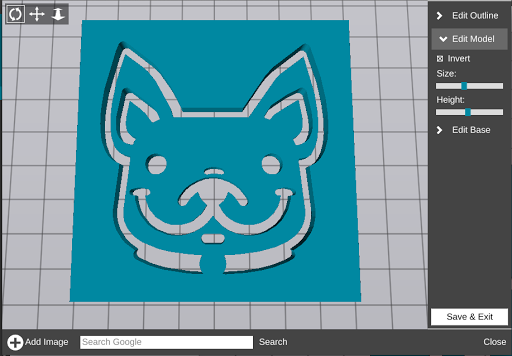
Inverted Image
Print it!
The stencil will appear in the Queue. Select the file and settings. A coarse layer height and 25% infil should be fine. Printing with PLA should be just fine.
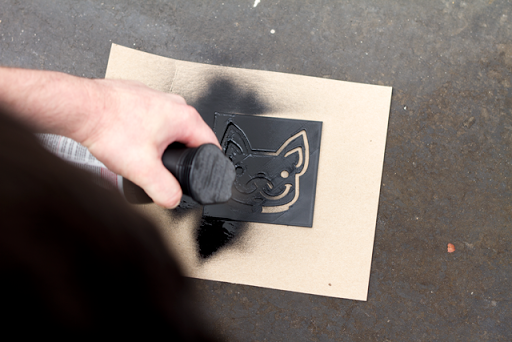
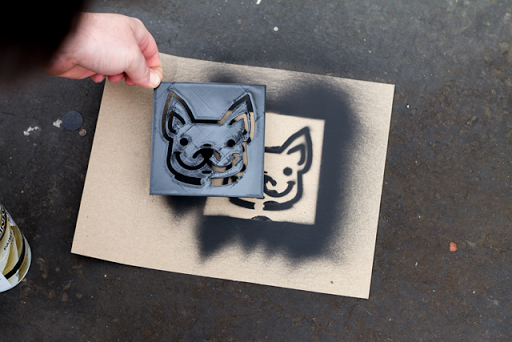
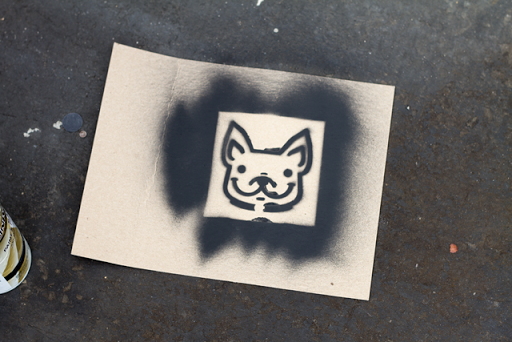
Now that your stencil is complete, grab your favorite color of spray paint and start claiming things as your own!
Things to watch out for:
- Islands - Avoid islands to ensure the stencil is made from one piece. Connect islands if needed.
- The stencil can be mounted to a piece of cardboard to avoid overspray.
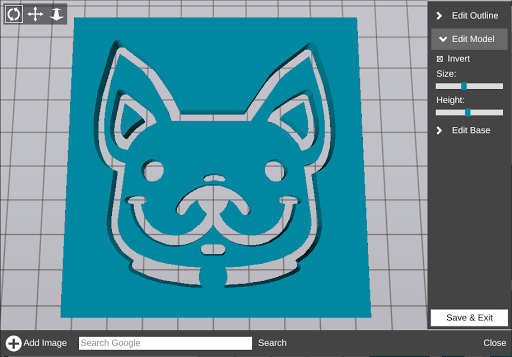
This Image Won't Make A Stencil With The "Islands" In the Ears Of The Dog
Image Converter is now free in MatterControl 2.0!
With the new version of MatterControl, Image Converter is available for free for all users! Download MatterControl and check it out!
Happy Printing!