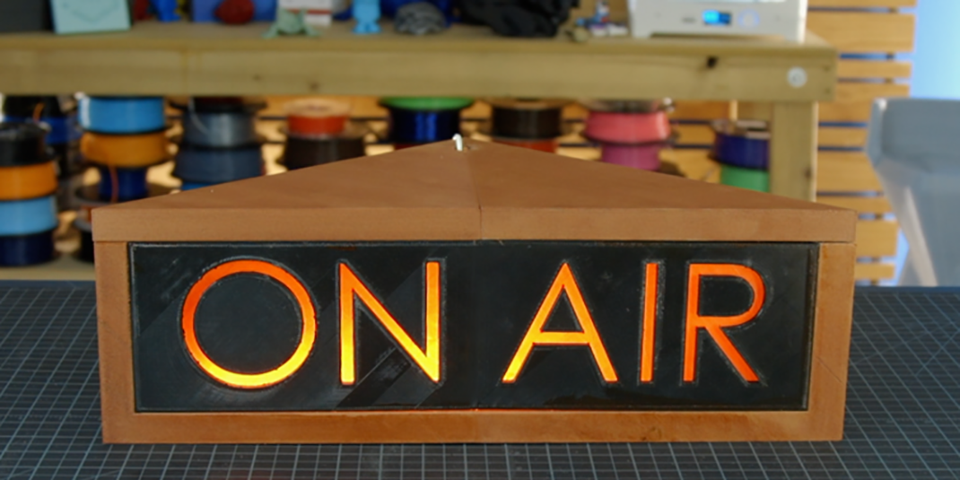
How To: Post Process Wood-Infused 3D Filament
Learn the best practices from the Pros at MatterHackers for 3D printing, finishing, and staining wood-infused filament.

What are Wood-filled 3D Printing Filaments?
There are many brands and colors of wood-filled filaments like ColorFabb Woodfill or Fillamentum Timberfill, but what exactly are they? These filaments are a composite material, made by combining a plastic (PLA) with finely powdered wood (or sometimes bamboo). The ratio between the two can fluctuate, but you’ll find that most fall somewhere near 70% PLA to 30% wood powder.
Why Should I 3D Print With Wood-filled Filament?
Many people have access to 3D carving machines, mills, or full on woodshops to create art out of wood, but for some of us, we just don’t have the space, knowledge, or ability. Wood-filled filaments allow you to create complex shapes and models and be able to treat them as if they were made out of wood. This means you can fill it, stain it, seal it or even oil it, opening up your creative potential for works of art or just for more interesting prints.
Gluing Together Two Wood-filled 3D Prints
Since these filaments are PLA based, you can still use superglue (cyanoacrylate) or epoxy to weld parts together. Avoid using friction welding, 3D printing pens, or any form of adhesive that creates heat, as the printed parts will actually burn a bit from the wood.
Filling wood-filled 3D prints.
Like many people use wood filler to smooth and blend their PLA 3D prints, you can use wood filler putties to fill the seams between two wood-filled parts that you glue together. However, since the whole point of wood-filled filament is to have the texture, color, and look of wood, the filler putty might take away from that because it won’t be the exact same color as the filament, making a smooth, but obvious seam.
Sanding Wood filled 3D Printed Parts
While PLA might be known as one of the hardest (and yet not terribly hard) 3D printing materials to sand, wood-filled PLAs respond a bit better to sanding. I would recommend starting at higher grits than you might normally use for a regular PLA print because you don’t want to knock down all of the layer striations, as those help sell the “wood grain” illusion. Try starting with a 200 grit for any egregious areas, but using a finer 400 grit for the rest of the model. From here you can choose to work up to 3000 grit if you’d like to achieve a near mirror finish.
Staining Wood Filled 3D Printed Parts
If you used a lightly colored wood filament, you can still stain it using any store-bought wood stain, from a maple to dark walnut. Staining your filament will give you more options for colors by limiting you to the number of wood stains that are out there (and there are many) rather than how many colors a filament manufacturer makes (which can be anywhere from one to four).
The actual steps involved in staining are:
- Sand, polish, and prep your 3D print to your desired surface finish using progressively less aggressive sandpaper grits.
- Pour just a small amount of stain onto a lint free cloth
- Rub it into the surface of the 3D print, making sure to get any small crevice and detail.
- Leave time to soak in and dry.
Now you may find that the stain doesn’t absorb quite as quickly or as well as it does with true wood. While these filaments do have wood in them, the amount of plastic does prevent it from accepting stain as well as normal, so you may need to leave more stain on the surface of the 3D print rather than wiping up all of it like you would with wood.
Sealing or Oiling
You can also use polyurethane or woodworking oils to seal your wood 3D prints and prevent them from soaking up moisture as easily. Now, the prints are still mostly plastic, it won’t absorb nearly as much water as wood might, but it will absorb some. And since they aren’t pure wood, it will take a bit longer to soak the oil in and stop feeling oily as well. While normal wood may only take a few hours to soak it up, 3D prints can take overnight or even days to soak it all in. In any case, sealing your print will bring out the “grain” and produce a richer, glossier color.
Wood-filled filaments are a really unique set of filaments that aren’t much harder than the ones you might be used to, but provide some other options for finishing to achieve some interesting effects.
If you have a technique that we didn’t mention here but you find valuable in your work, leave a comment down below and we’ll look into that method too!
Happy printing!
Request a Quote
To learn about available discounts, training, and maintenance options, please use the form below and a MatterHackers Expert will contact you within one business day. Alternatively, you can always feel free to give us a call at +1 (800) 613-4290 or email sales@matterhackers.com.