
How to Print in Multi-Color with a Single Extruder
Want to print in multi-color but only have one extruder? Fear not! With just a simple trick using MatterControl, you can print with all the colors of the rainbow.
When I first started working at MatterHackers all of my friends were so intrigued by the concept of 3D printing, I would often get the question, "What does something 3D printed look like?". So I decided to make myself a key chain I could put on my car keys; something I could easily grab out of my bag when people asked me. The trouble was, I am a very colorful person. I did not want my key chain to be just a single color, I wanted it to be five colors. But, I was only a novice, and the printer I was using only had one extruder.
With a little bit of chatter with the tech team, they informed me that with the power of MatterControl, and some work on my end, I could have my colorful key chain.
Ladies and gentlemen, I did it! And with these simple instructions, you can too!
Getting started with Multi-color printing:
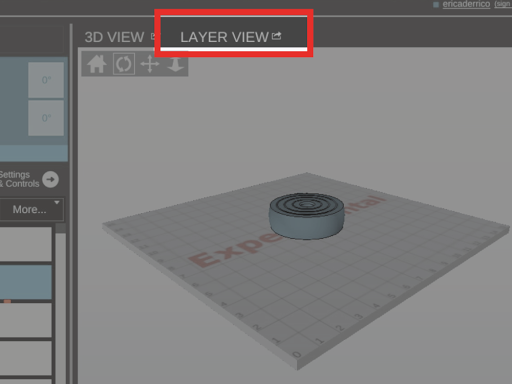
Step 1- Open up MatterControl and view the file you would like to print. Once, you are viewing your file, you will need to go to Layer View.
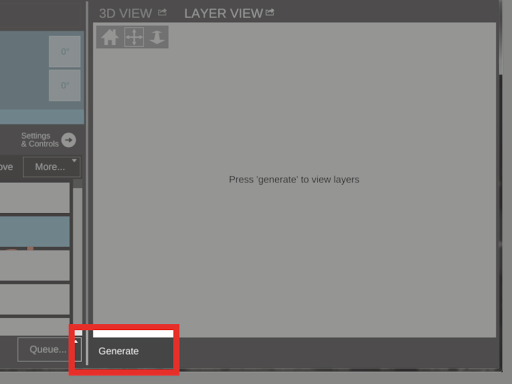
Select Layer View, you will be prompted to generate the layers for your file. Hit 'Generate' and wait for your layers to load.
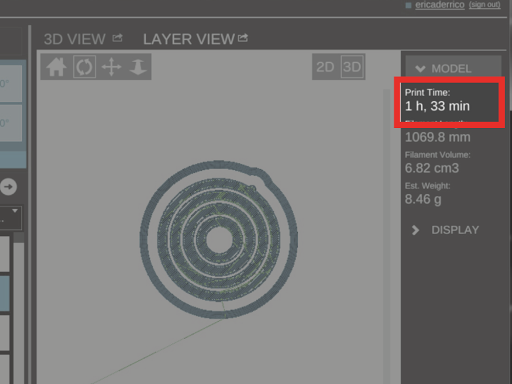
Step 2- Once your layers have generated. You will notice MatterControl shows you your print time. This is very important because you are going to need to take your print time and divide it by the amount of colors you will be using; granted you want the colors to be evenly distributed.
My file here, is going to take 93 minutes to print. For this demo, we are going to use three colors. So that means, each color will print for approximately 31 minutes. What you'll want to do is find some sort of timer that can alert you every 31 minutes. My choice is the handy dandy timer that is on my phone and it works great.
Step 3- Prep your print space, have all the colors you want to use nearby and know the order you want to print them in. Once you have your first color loaded, hit print!
Step 4- You are going to need to start your timer. But don't start your timer right when you hit print! You are going to want to wait until you printer actually starts extruding, then you will start your timer.
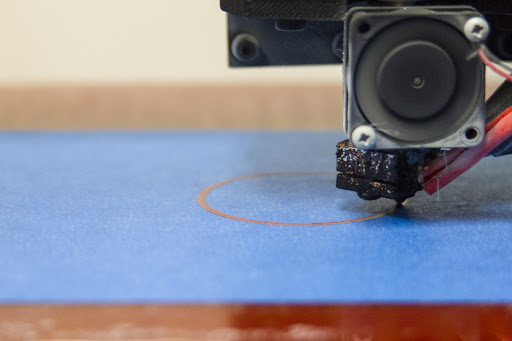
Printing Begins
Step 5- So you wait but, once you are at about one minute left you'll have to do some prep. Select 'Settings & Controls' in MatterControl. It is key to have this up before your next step.
Step 6- When your timer finally goes off, you will select the 'Pause' button.
When your print has paused you will then go to your Movement Controls and select 'Z+' between 2-3 times. You want to make sure there is not a lot of time in between pausing your print and moving your nozzle up. Otherwise, you nozzle might melt your print in that one area.
Swap the filament:
Step 7- It is at this time you will change your filament. Release the extruder's cold end leven and remove the current color completely. Load your new color. Be sure there are no clogs and push the filament through the hot end until you see the color change out the nozzle.
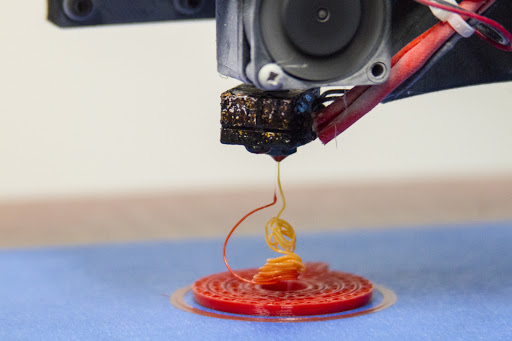
New color feeding through
Step 8- With the second color swapped in, select the 'Resume Print' button.
Once you hit print you will restart your timer once more and wait for it to be up. You will go through steps 4-8 for each color until you are done!
Now you can have your own colorful key chain or whatever you choose to print!
I used the LulzBot Mini 3D printer to create my keychain, but you can use any single extrusion 3D printer as long as you are using MatterControl - download it for free here. Since this article has been written, I've had success with multi-color 3D printing on many different machines, including Monoprice 3D printers, Ultimakers, and more!
Happy Printing!