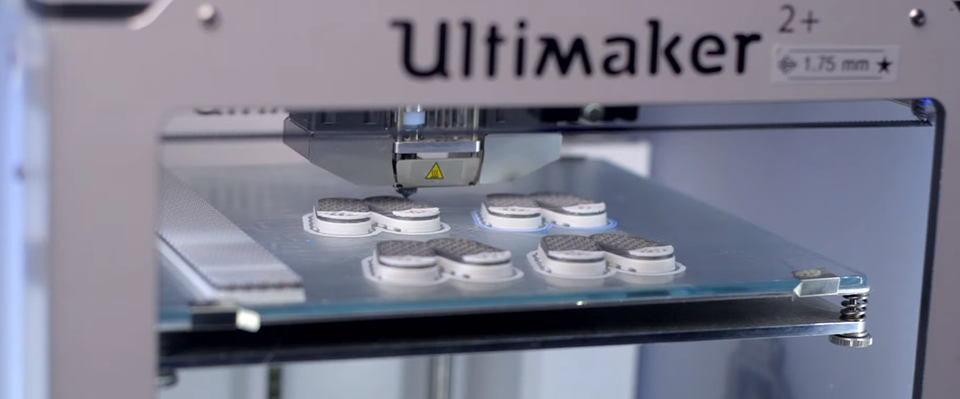
How To: Use the Palette 2 Pro and Canvas to Create Multi-Color 3D Prints
3D printing in multiple colors can be challenging, but the Palette 2 Pro and Canvas makes the whole process easier than ever.

Most 3D printers out there utilize one nozzle, which means one material and color. If you’re looking for multiple colors in your finished part, you have to know ahead of time to research and purchase a dual extrusion printer or take the time to learn and develop hand painting skills. With the former, you’re still limited to two colors, and with the latter, there’s steps between printing and painting like sanding and finishing to make sure paint doesn’t seep along layer lines. Enter the Palette 2 from Mosaic Manufacturing.
The Palette 2 works by taking in four different filaments and splicing them together using a sharp knife and a “Splice Core.” This means that no matter your printer, you can upgrade it with the Palette 2 to give it multi-extrusion capabilities.
The Palette 2 is great, but even more powerful is the Palette 2 Pro!
Between the Pro and the standard Palette 2, the Pro has a machined aluminum Splice Core for optimal cooling and 20% faster splicing speeds, an extended warranty (2 years vs 1), and spare parts for the most wear-prone parts of the Palette.
The Palette 2 Pro aims to make this process a lot more accessible with the companion software: Canvas. Canvas is a multi-purpose, browser based software: you can set up, calibrate, and tune your specific printer’s performance with the Palette. There are some printer’s that already have profiles integrated in, so you can pick a good starting point and tune from there with some small calibration prints. You can also prepare models that weren’t originally designed to be multi-extruded, with a very paint-by-numbers workflow.
Years ago I was tasked with converting our mascot, Phil A Ment, into a dual extrusion compatible model. Unfortunately, I didn’t have access to the original design software used to create Phil, so I had to rely on manually manipulating the mesh to turn him into multiple parts. I needed to go through and select individual triangles on the surface of Phil, extrude them into his body, subtract them from each other, and hope there weren’t any complications, although there usually were. This was incredibly tedious and was full of trial and error just trying to get close, and I still have to go back to it every so often to fix some old error I left behind.
With Canvas, all I have to do now is import my 3D model, select it, and click the “Paint Selected” button at the bottom to start coloring it in. There’s four tools you can choose from: facet, sphere, fill, and fix. Facet will allow you to individually change the color of specific triangles on the surface of the model, sphere is a paint brush you can grow or shrink the selection size, fill will paint within the boundaries of generated regions, and fix will look for triangles that look like you meant to make color 1 but is currently color 2, and correct it. Canvas is excellent at creating smooth, blended surfaces, where none of the glitches I described are created.
When I say “boundaries of generated regions” I’m referring to the option within sphere and fill. Here you can change the specific settings for how it generates different groupings of the faces of the 3D model, so you can paint-by-numbers. If you’re using sphere, the color won’t spread past the current selection you are painting in, and with fill it will change all triangles within the boundary into your selected color.
While testing out this portion of Canvas, I feel that the best workflow to develop is to find the region settings that most closely encompass the features of your model, then go through and use the fill tool to block out the bulk of the coloring. Once that’s done it’s a lot easier to go back in with the sphere tool and pick up the small sections and triangles and regions that didn’t get separated out. When you’re happy with the coloring, simply click “Save and return” and you will be brought back to the print bed so you can set slice settings, slice, and export for printing.
To redo Phil here took no more than an hour and now that I know my way around the software, it should be even easier to go through with any other 3D model I already have to prep it for Palette printing. Now all I have to do is make sure my settings are right, slice up this Phil or print multiple at once to minimize the proportion of waste in the purge block, and I’m good to go!
Canvas is a smart, powerful tool that allows you to bring your multi-color printing ideas to come to life, and it comes completely free with the Palette 2 and Palette 2 Pro. I hope that this guide makes multi-color 3D printing more approachable to you and encourages you to check out the Palette 2 Pro!
Happy printing!
Request a Quote
To learn about available discounts, training, and maintenance options, please use the form below and a MatterHackers Expert will contact you within one business day. Alternatively, you can always feel free to give us a call at +1 (800) 613-4290 or email sales@matterhackers.com.