
The Best Practices for Post-Processing Resin 3D Printed Parts
Discover the secrets to perfect resin 3D prints! Master washing, curing, support removal, sanding, & finishing for stunning, high-quality results.
As resin 3D printing technology continues to gain momentum in the world of additive manufacturing, it's essential for users to understand the ins and outs of post-processing their resin prints. Proper post-processing not only ensures the desired finish and aesthetic appeal, but also optimizes the mechanical properties of the final product. In this article, we'll explore some of the best practices for post-processing resin 3D printed parts, including washing, curing, and finishing techniques.

Get beautiful resin results with these helpful tips!
1. Washing
The first step in post-processing resin prints is washing, which removes any uncured resin residue from the part. This is crucial for maintaining the desired dimensions and preserving the fine details of the print.
Best Practices:
- Always wear gloves and eye protection when handling uncured resin and printed parts.
- Use an appropriate washing solution, such as isopropyl alcohol (IPA) or a dedicated wash solution.
- Immerse the part in the washing solution and agitate it gently to remove any uncured resin.
- For larger prints or intricate geometries, consider using a dedicated washing machine that uses ultrasonic or agitated cleaning methods.
- Once the part is clean, let it air dry or use compressed air to speed up the drying process.
2. Curing
Curing is the process of solidifying the resin by exposing it to ultraviolet (UV) light. Proper curing is essential to achieve the desired mechanical properties and to ensure the part's longevity.
Best Practices:
- Use a dedicated UV curing chamber or a UV light source with sufficient intensity and wavelength for your resin.
- Consult the resin manufacturer's guidelines for the optimal curing time and intensity.
- Rotate the part during curing to ensure even exposure to the UV light.
- Be aware that over-curing can cause yellowing or brittleness, while under-curing can leave the part weak and susceptible to deformation.

Harnessing the power of UV light to solidify and strengthen resin prints, achieving optimal mechanical properties and durability.
3. Support Removal
Removing support structures from resin prints can be challenging, but proper technique can make the process smoother and less damaging to the print.
Best Practices:
- Remove supports while the part is still partially uncured for easier separation.
- Use flush cutters or similar tools to snip off the supports close to the print's surface.
- For delicate parts, consider using tweezers or needle-nose pliers to gently remove supports.

Removing support material from resin 3D printed parts.
4. Sanding and Smoothing
Sanding and smoothing help to remove layer lines and other imperfections, giving the final part a more polished appearance.
Best Practices:
- Start with a coarse grit sandpaper (e.g., 220 grit) and progress to finer grits (e.g., 400, 800, and 1200) for a smooth finish.
- Use wet sanding techniques to minimize dust and improve the overall finish.
- For curved or detailed surfaces, consider using sanding sticks, sponges, or other flexible tools that can conform to the part's shape.
5. Painting and Finishing
To further enhance the appearance of your resin print, consider applying paint, clear coats, or other finishes.
Best Practices:
- Prime the part with a suitable primer before applying paint to improve adhesion.
- Use airbrushing or spray painting techniques for an even and professional-looking finish.
- Apply a clear coat or sealant to protect the paint and give the part a glossy or matte appearance.
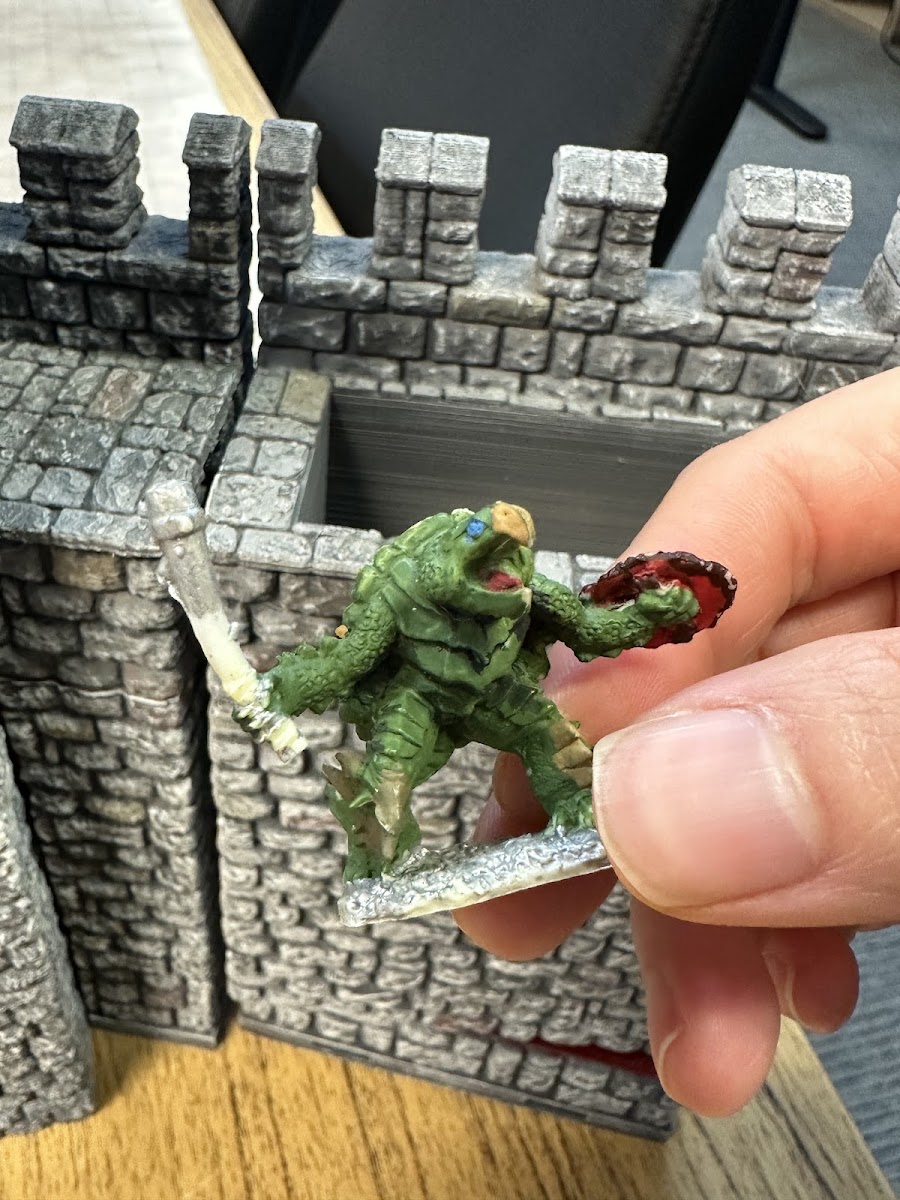
Painting a finished part (especially tiny ones) will always make your pieces shine!
With these best practices in mind, you'll be well-equipped to handle the post-processing of your resin 3D printed parts. Proper washing, curing, support removal, sanding, and finishing techniques can transform your prints from functional prototypes to polished, presentation-worthy pieces. Remember, practice makes perfect, so keep refining your post-processing skills to achieve consistent results.
More Resin 3D printing resources:
Shop resin 3D printers resin 3D printers.
Shop resins 3D printer resins.
Shop resin post-processing tools resin post-processing tools.
Shop resin 3D printer parts and accessories resin 3D printer accessories.