
Create Your Own Custom Night Light
Matt Manhattan, our February Hacker of the Month, took a stab at merging an everyday object with 3D printed parts to create a new, customized item. With great success, he's done it! Everyone has one, but do you have your very own, personalized night light?
It began how all of us often get into 3D printing - a little curiosity. Two years ago, Matt Manhattan decided to follow through with that curiosity and jumped into 3D printing. Excited, Manhattan researched for a year and finally bought a machine - Ultimaker 2.
"Once I had my own 3D printer, I fell down the rabbit hole and just learned everything I could," said Manhattan, "every day I am still blown away by what other people are doing with their printers, and that is what keeps me so excited to use it more and more for everyday and uncommon projects".
The never-ending yearning for knowledge led to his realization that you can merge existing real world objects with 3D printed parts to create a new and customized object.
Manhattan eagerly states, "I love the idea of being able to buy really simple items and easily customize them with a 3D printed replacement part."
Tinkering away into the late hours of the night, Manhattan realized he was in need of some night lights for his apartment. The lights he purchased came in a four pack.
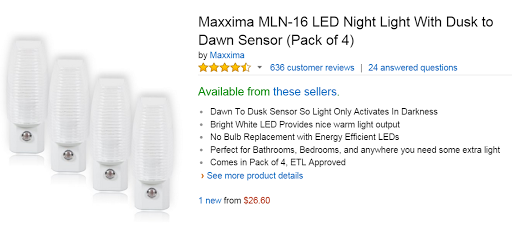
He noticed the plastic part slid off easily, and with some digital calipers he could measure the piece and make his own - so he did.
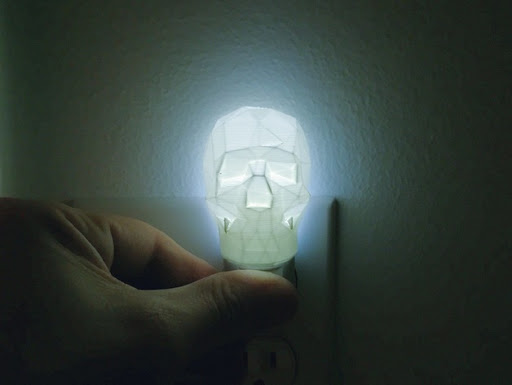
"This little 3D printed upgrade takes a cheap looking night light and really takes it to the next level," said Manhattan.
Manhattan tried to make his process as easy as possible, that way anyone could achieve a custom nightlight. Not only did he make his process easy, but he made his directions available to share.
How to Create Your Own Custom Night Light
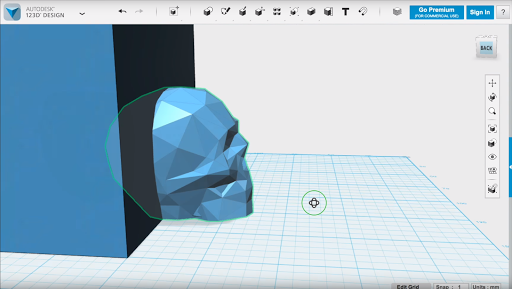
1. The project file contains a 123D Design file with two separate pieces. Import your desired night light object into the 123D Design file and scale it so that it is larger than the smaller, rounded piece.
2. Move your night light object so that it completely covers the smaller, rounded piece. The rear, rectangular piece is there so you can remove any of your night light model that would extend passed the night light and into your wall.
3. Once everything is properly aligned, use the subtract tool to remove the rear, rectangular piece from your night light object.
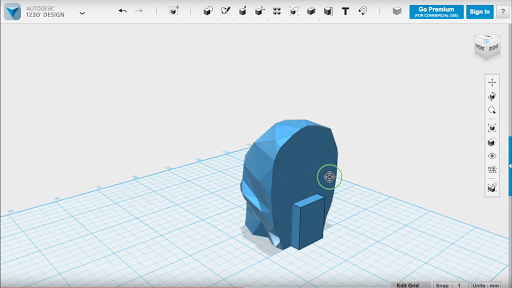
4. Then use the subtract tool to remove the smaller, rounded piece.
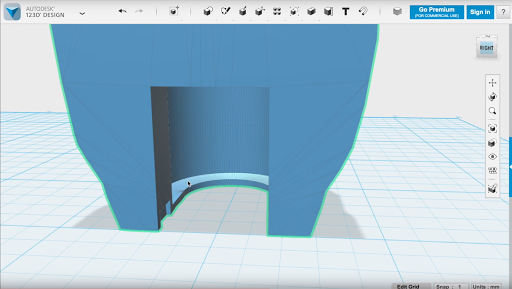
5. Your night light object has now been hollowed out and can be printed with support material.
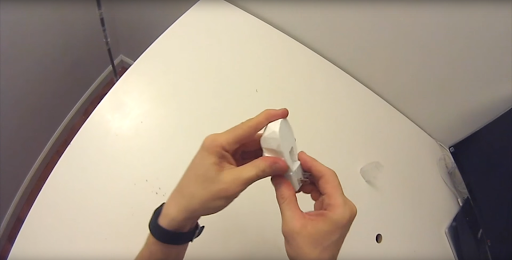
Remove all of the supports and slide your customized night light cover over the light. You will need to give it a little force to snap it into place. That’s it!
* The two pieces referenced above can be found on Manhattan's Thingiverse page.
Manhattan's mission is strong! Not only has he created custom night light kits, but he has also designed customized pegboard pieces and has used them to completely redecorate his home.
What's next for the young maker? He just wants to keep advancing.
"I plan on getting a dual extrusion printer soon and really want to explore using multiple unique filaments. In general I want to keep releasing fun designs that can be practically enjoyed around the home."
Follow Matt Manhattan and all his creations on Thingiverse.
Do you think you have what it takes to be our next Hacker of the Month? Simply follow us on Facebook/Twitter or email media@matterhackers.com. Tell us about your project or 3D printed creation, and you could be featured in our next newsletter. The Hacker of the Month will also win three free spools of PRO Series PLA or ABS filament to further their pursuit of 3D printing greatness.