
Tech Breakdown: A Detailed Account of ColorFabb SteelFill Filament
An in-depth review of SteelFill 3D filament, the next great metallic PLA from ColorFabb that delights users with its metal characteristics and relatively easy printing.
With ground-up metallic powder as their unique ingredient, metal-filled PLAs are not only heavier than their PLA-only counterparts, but also generally have characteristics which lend themselves generously to post-processing possibilities - which can really make them pop. Made shiny or left dull, they can be distinguished easily when compared to the usual filament choices on the market today.
Let’s take a closer look at the newest in ColorFabb’s line of these fun-to-print filaments: SteelFill.
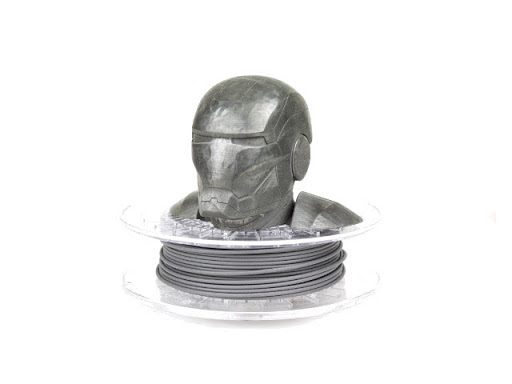
Iron Man knows steel is superior.
Tips & Settings for SteelFill
Like its predecessors, SteelFill is a PLA-based filament so most settings that work for PLA filament will also work for SteelFill. Using MatterControl, you can easily start with a standard PLA preset for your printer and tweak individual settings from there.
In the experiences I’ve had with SteelFill and the other metal-filled PLAs from ColorFabb, I’ve found that they tend to need a little more heat than regular PLA to achieve a good melt and flow.
Extruder Temperature: 200-220°C
Depending on the printer the extrusion temperature may vary. The range above should cover most printers. Start with 205 and adjust if necessary.
Bed Adhesion: Heated glass with glue or no heated bed with painter’s tape
If your printer has a heated bed you can print straight on the glass. Set it to 60°C and if needed, apply glue stick.
If your printer does not have a heated bed lay down some blue painter’s tape with or without glue. Just make sure to account for the extra thickness of the tape in your Z Offset (usually up 0.1 mm) so that first layer is perfect.
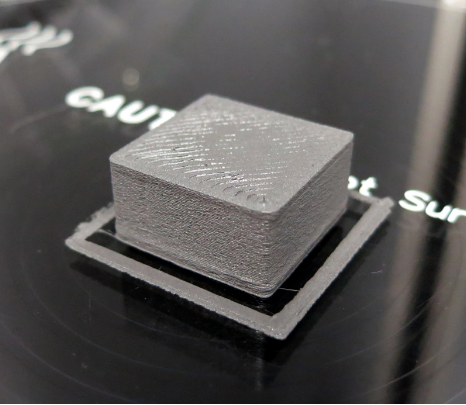
Printed straight on glass, heated bed at 60°
Print Speed: 50-70 mm/s
Like PLA, SteelFill can print at higher speeds. Just keep an eye on the extrusion for the first few full-speed layers to make sure your hot end can support the top speed you’ve chosen.
Nozzle
SteelFill is abrasive, so a steel nozzle is a must. Hardened steel or stainless steel nozzles are available in the MatterHackers store.
Retraction
As with all PLAs, too much retraction can cause heat creep. Make sure to keep an eye on the print during the first few layers which use retraction more heavily for moves between islands (if applicable) and lower if necessary as a stuck or slow filament flow will certainly be a source of frustration if left unmonitored.
Layer cooling
Fans are recommended, especially for overhangs. Keep in mind that since the material is more dense it’s heavier and will droop more easily than regular PLA.
Post-processing
SteelFill 3D filament offers many possibilities for improving the exterior after printing. We’ve had success of different kinds using sandpaper, a wire brush, a rock tumbler, and combinations of the three. Use XTC if you want a glossy finish.
For more in-depth PLA finishing techniques, check out our article "How To: Smooth and Finish Your PLA Prints - Part 1."
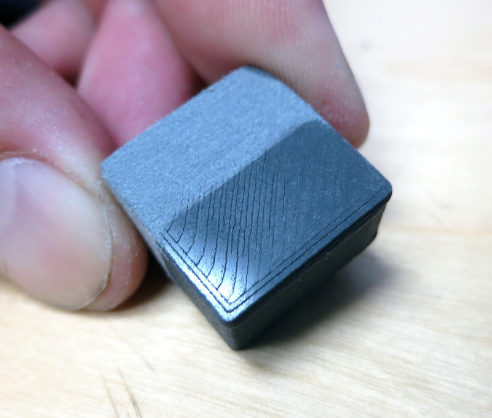
The lower right side was covered with tape while the other was sanded - the gloss is from printing on glass
SteelFill vs. Other 3D Materials
SteelFill is very similar to the other ColorFabb metal-filled PLAs in terms of weight and feel post-print, and has the same basic characteristics besides the obvious look.
As a PLA-based filament, SteelFill embodies most of the same characteristics as PLA, so it will warp when exposed to heat (like sunshine) and regardless of having actual metal in it, shouldn’t be used for any kind of mechanical application.
To measure SteelFill against other 3D filament, check out our Filament Comparison Guide.
Conclusion
With a silver metallic aesthetic and some hefty weight to it, SteelFill has proved to be yet another great specialty filament option from ColorFabb. Artists, hobbyists, and professionals alike will find a use for it as they continue to explore the never-ending possibilities of 3D printing.
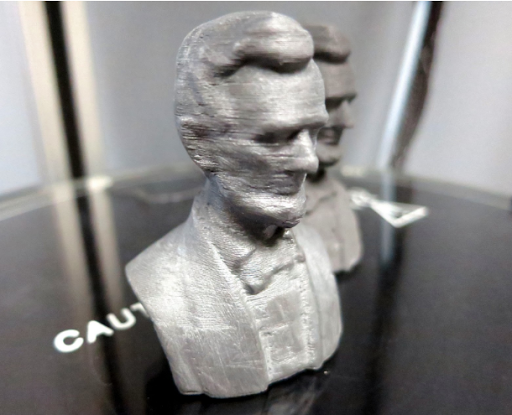
Here’s a few pictures of a Lincoln Bust that I printed and finished. Have fun with SteelFill!
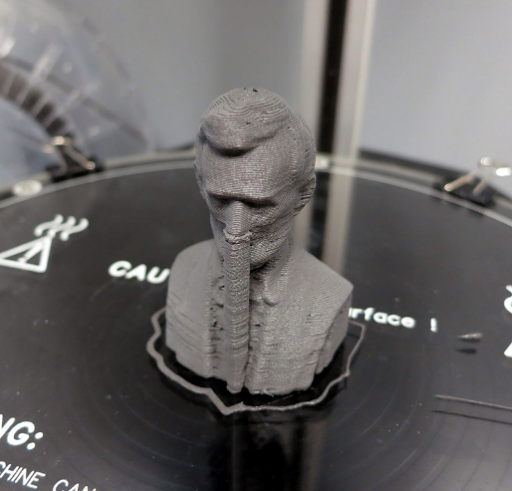
The raw print on a SeeMeCNC Orion - plenty of flaws and a couple of very slightly shifted layers
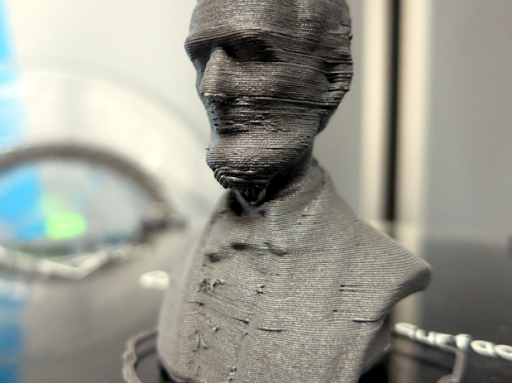
The chin didn’t hold up and a couple of extrusions fell. These will have to be cut off
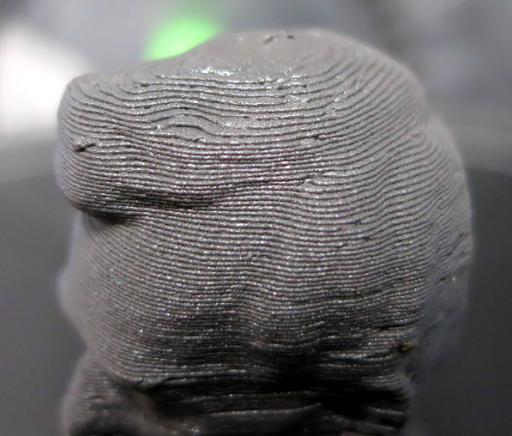
Just showing the contours of the head - these will soon be smoothed
This layer shift on the back of the print will soon be sanded away
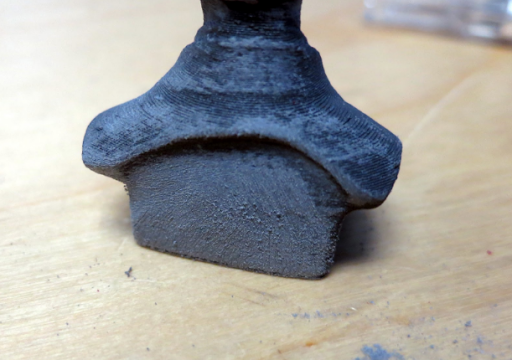
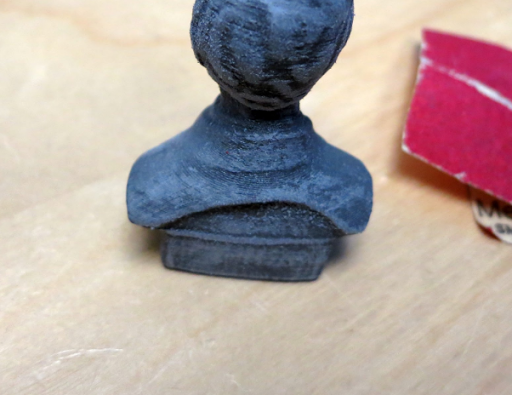
No more layer shift line!
After a half hour of sanding and wire brush, the model is very shiny! The print behind is from a previous attempt but the support material wouldn’t come off.